Mastering iPhone Photography for Beautiful Family Photos
Below we share some of our favourite tips and iPhone photography hacks that have allowed us to up our family photo game.
There’s something about a beautiful image that draws us in. If you’re reading this then I’m guessing you’ve tried your best to imitate such images but have been frustrated with the results.
However, as a photography enthusiast, I know that with a few simple tweaks and an ounce of patience, beautiful shots can be obtained using your iPhone alone.
No bulky DSLR and no mind-boggling Photoshop.
Admittedly, my mobile photography experience is limited to iPhones, but the principles apply regardless of the technology.
Avoid direct sunlight
When taking a photograph, it's important to pay attention to the position of the sun.
Pointing your camera directly at the sun can cause the foreground subjects to appear dark and underexposed.
Instead, try to position the sun behind you. This will provide even lighting on your subjects and prevent them from squinting.

Image: The basic types of directional lighting using the sun
If you find that the overall scene is too bright (e.g. it is midday sun), try shooting in the shade to avoid harsh shadows and overexposure (too bright).
Below is an example of some family photos we took at the same venue and at the same time. In the first image you can clearly see that the picture was taken in direct sunlight, which caused the subjects to be dark.
In the second image the sun was placed behind leading to a more evenly lit and flattering image (it won't win any awards, but it highlights the point).

Image: Using the sun to get a good exposed iPhone image
Above all, don't be afraid to break the rules and take multiple shots and experiment with different angles and lighting conditions until you get the perfect shot.
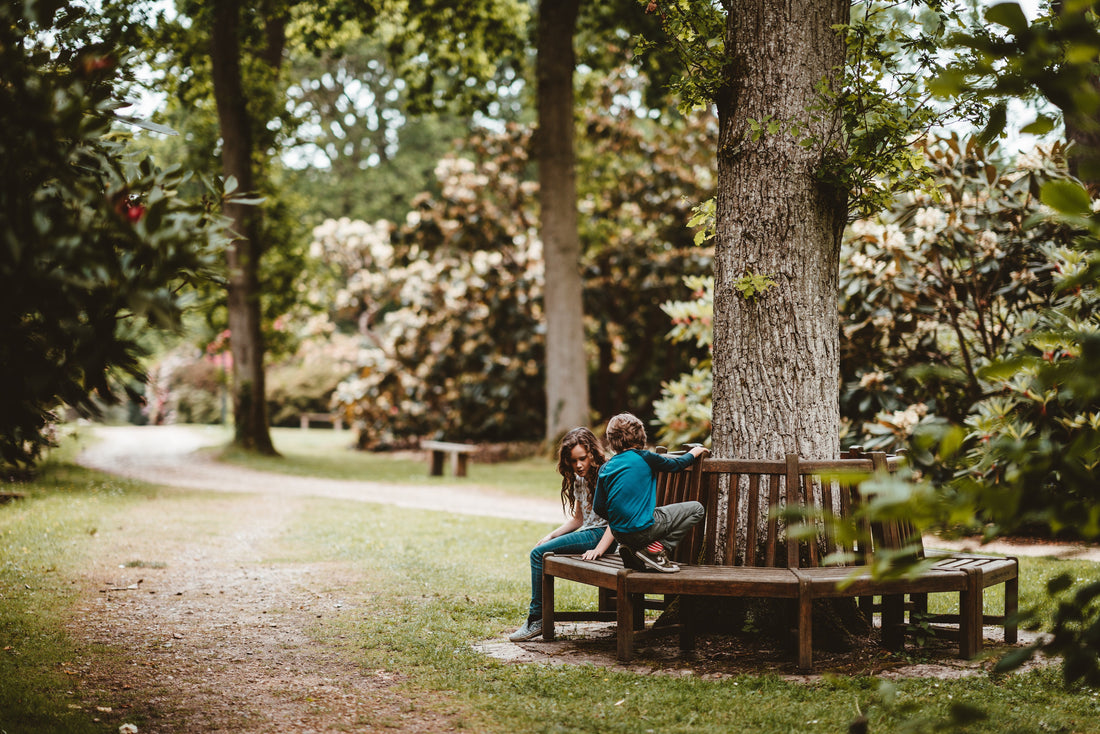
Change perspective
Most of us are accustomed to taking iPhone photos from the perspective of standing in front of our subject and capturing the scene at eye level.
However, by changing your perspective and shooting from a different angle, you can create more unique and visually interesting images that stand out from the typical eye-level compositions.
If you want to mix things up and take your photos to the next level, try changing your perspective.
This can be as simple as getting down on your knees or standing on a chair to capture a different angle.
You can also try shooting from the side or behind your subject, or tilting your camera to add some drama.
Alternatively, step back and capture a wider view, or get closer to focus in on a specific detail.
The options are endless, so have fun and get creative. Don't stress if a photo doesn't turn out exactly as you hoped – just try again and keep experimenting until you get the shot you want.

Image: Different angles of the same image
"...by changing your perspective and shooting from a different angle, you can create more unique and visually interesting images"
Set the focus
Smartphone cameras do a decent job of automatically focusing on a subject and composing a photo accordingly.
But they are guessing, and sometimes images are blurred or out of focus.
So here’s an under-utilised tip; set the focus of the image yourself.
|
That’s it! After the yellow box appears you can go one step further by adjusting the exposure (image brightness).
Manually adjust the exposure
A simple iPhone photography hack that can dramatically improve your images is using the exposure compensation feature.
This allows you to adjust the lighting in a photo before you take the shot. Sometimes, the automatic settings may not capture certain scenes exactly as you'd like, from an accuracy and creative standpoint.
So this feature will allow you to achieve greater image accuracy or simply add a creative touch. To manually adjust the exposure:
|
Here are steps provided by Apple. Practice at home by pointing at random objects and playing with the focal point and exposure.

Image: Manually adjusting the exposure settings on the iPhone
Take another shot
We've all been there – you take a bunch of pics and then realise later that they're not quite what you were hoping for.
Maybe someone's eyes are closed (it's always the children!) or there's a funny object in the background.
It can be frustrating, and often we're too self-conscious to snap extra shots in public.
But the truth is, the more pics you take, the better your chances of getting a keeper. So next time, don't be afraid to take a ton of shots and play around with different angles. Trust me, it'll pay off in the end.

Keep it simple
As you learn and improve your photography skills, it can be helpful to keep your compositions simple.
Busy or cluttered images are often a sign of an amateur photographer.
To avoid this, try looking for elements in the background or foreground that might distract from the main subject before taking the photo. If necessary, move closer to your subject to minimise distractions.
Another technique to consider is using negative or empty space to enhance your subject.
Negative space can be a textured wall, the sky, an open field, the fog, or the sea – the possibilities are endless.
By using negative space effectively, you can create a clean, minimalist composition that puts the focus on your subject.

Image: Family image of our daughter enjoying autumn colours
Edit like it's hot
I love editing. It’s so much fun and can transform an image. All top photographers edit their photos.
The native camera apps are good and getting better, but I would also recommend VSCO or Snapseed, both very simple and powerful editors.
My simple process can involve removing small blemishes, straightening, adding filters, cropping, boosting contrast or sharpening.
This usually only takes minutes and I try not to over do each edit.
Happy snapping.
iPhone Photography: Frequently Asked Questions
How do I make my family pictures look professional?
To make your family pictures look more professional, try using good lighting and choosing a suitable location with an uncluttered background. Experiment with different angles, and use a tripod to get sharp, blur-free photos. You can also use photo editing software to adjust the color, contrast, and other settings to make the pictures look more polished. Just be sure to keep the edits subtle, as over-processing can make the photos look fake.
What settings should I use for family iPhone photography?
For family photography with an iPhone, it's generally ok to use the "Auto" setting, as this will allow the camera to automatically adjust the exposure, white balance, and other settings based on the lighting conditions. You may want to turn on the "Smart HDR" (High Dynamic Range) setting, which helps to capture a wider range of tones and colours in the photo. It's also a good idea to turn on the "Grid" setting, which will display a grid on the camera screen, helping you to compose your shots more accurately.
How do you stand in a family photo?
To arrange your family in a way that looks natural and flattering in a family photo, try varying your heights, using the rule of thirds, leaving some space between family members, and experimenting with different groupings. Imagine dividing the photo into three equal parts horizontally and vertically, and place the main subjects along these lines or at the intersections to create a balanced composition. Avoid standing too close together, as this can make the photo look cramped. Instead, try leaving some space between family members to give the photo an open and airy feel. Experiment with different poses and groupings to find the perfect look for your family photo.
How do I take beach family photos with my iPhone?
To take beach family photos with your iPhone, use good lighting by avoiding the midday sun, which can create harsh shadows and cause people to squint. Instead, try taking photos early in the morning or late in the afternoon, when the light is softer and more flattering. A tripod can help you get stable, blur-free photos, and experimenting with different angles can add interest to the photo. Protect your phone from sand and water, and use photo editing software to adjust the color and contrast of your photos. Be sure to keep the edits subtle to avoid making the photo look fake.
— travel with children made easy —